
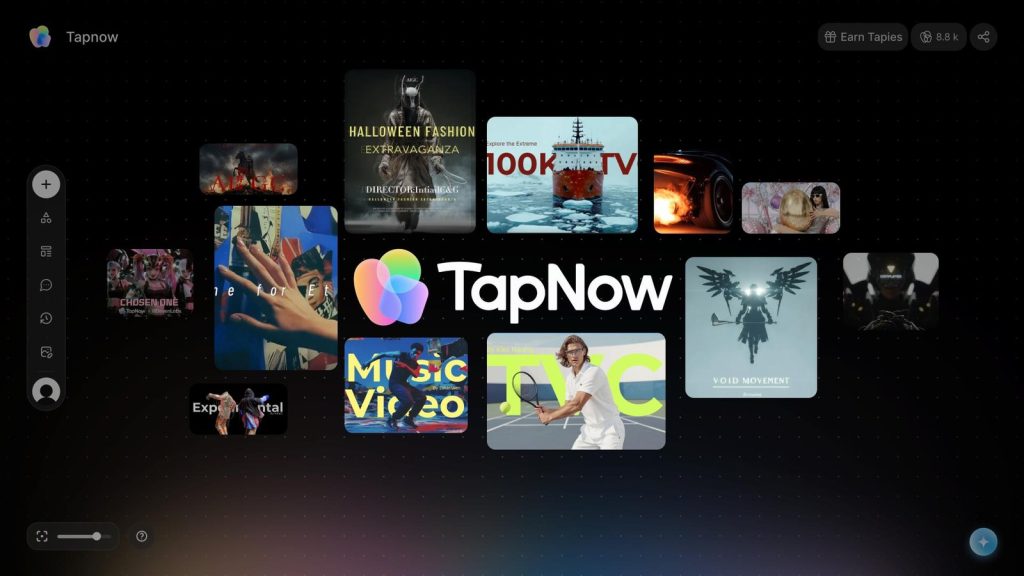
Overview

This section highlights the core features, use cases, and supporting notes.

TapNow is an AI-native creative canvas for creators who need more than one-shot prompting. Its official positioning centers on orchestrating text, image, audio, and video models in one workspace, with practical value in scene continuity, camera control, relighting, object replacement, multi-model routing, and remixable workflow templates.

TapNow is easier to judge honestly if we treat it as a creative workflow layer rather than as one more generic AI site. On April 14, 2026, the official English homepage at tapnow.ai positioned the product as Your AI-Native Creative Canvas and described it as a place to orchestrate text, image, audio, and video models with Zero friction. That matters because many people searching for an AI creative canvas, multi-model video creation tool, or AI storyboard workflow do not really need another chatbot. They need one workspace that reduces tool hopping and keeps context tied to the project.


Annotated screenshot of the official TapNow homepage hero showing the AI-native creative canvas positioning
The hero section deserves attention because it frames TapNow as a workflow canvas across multiple media types instead of a single isolated model page. Click the image to open the full-size screenshot.

The strongest public pain point on the site is not image quality alone. It is creative friction: jumping between tools, losing prompt context, and breaking continuity between shots. TapNow tries to solve that problem with TapNow Agent, which the official site described as Your AI Executive Director. Publicly visible copy promised zero manual context feeding, proactive creation, next-scene prediction, and shot-by-shot consistency across characters, lighting, and style. That is a practical fit for ad creatives, short-film makers, music-video teams, and visual storytellers who care about sequence logic rather than one-off generations.


Annotated screenshot of the official TapNow Agent section showing the executive director style workflow and scene continuity positioning
The agent section is useful because it shows TapNow aiming at multi-shot direction and consistency, not only at isolated prompt output. Click the image to open the full-size screenshot.

The professional control layer is where TapNow starts to look different from casual creation apps. The official homepage publicly highlighted Professional cinematic control with physical camera parameters and custom lens textures, then followed it with Multi-angle camera control based on drag-to-set rotation, tilt, scale, and wide-angle behavior. For users searching terms like AI cinematic control, AI lens simulation, AI camera angle tool, or storyboard perspective generator, this is more specific than a generic prompt box. It suggests the platform is built for direction choices that need to stay intentional.


Annotated screenshot of the official TapNow cinematic control section showing lens combo and physical camera style controls
The cinematic control panel matters because it turns camera and lens feel into a controllable part of the workflow rather than leaving everything to random prompt interpretation. Click the image to open the full-size screenshot.

Annotated screenshot of the official TapNow multi-angle control section showing rotation tilt scale and wide-angle perspective controls
The angle-control section has real value for users who want to iterate perspective while keeping the underlying scene idea stable. Click the image to open the full-size screenshot.

The lighting tools add another layer of practical control. The official site described Studio lighting control with global brightness, color temperature, key-light movement, and rim-light toggles. This is worth noting because many AI tools force users to regenerate a whole scene just to change mood, separation, or depth. TapNow is publicly framing lighting as an adjustable decision inside the canvas, which is particularly relevant for product advertising, mood-board work, and look development.


Annotated screenshot of the official TapNow lighting control section showing brightness temperature key light and rim light adjustments
The lighting section matters because it shows TapNow treating mood and scene separation as adjustable controls, not as blind reroll luck. Click the image to open the full-size screenshot.

The Video object replacement section is one of the clearest public use cases on the page. Official copy said TapNow can replace the object in a video while preserving lighting, camera motion, composition, and scene continuity, including identity, outfit, or persona swaps. That makes it relevant for creators looking for AI object replacement in video, AI reshoot alternative workflows, or rapid variation testing for commercial concepts. The caution is important too: continuity claims still need human review around hands, reflections, fine edges, and fast motion.


Annotated screenshot of the official TapNow video object replacement section showing continuity-preserving replacement controls
The object-replacement section is valuable because it targets controlled edits inside an existing scene, which is a different need from plain generation. Click the image to open the full-size screenshot.

The model layer gives TapNow another practical reason to exist. Publicly visible on the official homepage were names such as Veo, Kling, Luma, Sora, Midjourney, GPT Image, Hailuo, Jimeng, Vidu, Flux, Pixverse, Grok, and Gemini. For users who constantly jump between accounts and interfaces just to compare engines, the real attraction is not a single model. It is the possibility of one creative surface above multiple frontier models. The tradeoff is that the workflow may feel heavier than a lightweight single-purpose generator, and account or credit management becomes more important.


Annotated screenshot of the official TapNow model shelf showing access to multiple frontier image and video engines
The multi-model section explains the platform bet clearly: keep creative routing inside one workspace instead of jumping across separate tools. Click the image to open the full-size screenshot.

The community section is more important than it first looks. The official page described TapNow Community as a place to discover professional works, clone templates, analyze logic, and remix them into new projects. That aligns with another official public source, the TapNow Manifesto, which described the product in terms of node, wire, group, and canvas. In other words, the platform is not only trying to deliver outputs; it is also trying to make creative logic reusable. That is a stronger value proposition for teams than a gallery alone.


Annotated screenshot of the official TapNow community section showing workflow cloning remixing and project reuse ideas
The community section is worth keeping because reusable recipes and project logic can save more time than browsing inspiration alone. Click the image to open the full-size screenshot.

Our grounded judgment is that TapNow is most interesting for serious creators and teams who want controlled, repeatable visual workflows across image and video models, especially where continuity, camera language, lighting, or reusable creative recipes matter. It is not the simplest tool for someone who just wants one quick free image or a basic chat assistant. Publicly accessible entry points also show some regional or language variation, so first-use friction should be expected. Within those limits, TapNow looks less like a novelty generator and more like an orchestration layer for modern AI creative production.

Setup / Usage Guide

Installation steps, usage guidance, and common notes are maintained here.

The best first-use approach for TapNow is to start with one real creative task, not with ten experiments at once. The product is publicly positioned as a canvas and orchestration layer, so it makes more sense when you already know what kind of scene, ad concept, storyboard, or video variation you want to produce.

  1. Open the official English homepage at https://www.tapnow.ai/. On April 14, 2026, the page publicly described TapNow as an AI-native creative canvas that orchestrates text, image, audio, and video models.
  2. Before clicking into the app, decide your first target. Good starter tasks include a one-product ad concept, a short visual scene with continuity, a camera-angle exploration for one subject, a lighting variation test, or a video object replacement experiment.
  3. Read the homepage sections first instead of skipping directly into generation. The official site already exposes the platform's mental model: agent-led scene flow, camera and lighting control, multi-model access, and community remixing. That helps you avoid using the wrong feature for the wrong job.
  4. Use the official Get started path to open https://app.tapnow.ai/home. In public access from this run, the real app entry was available, but the interface language and surrounding campaign surfaces could vary by region or account state. Treat that as normal and orient yourself before creating anything.
  5. Create or sign in to your TapNow account through the official app flow. Before spending credits or time, scan the entry page for current quotas, events, or plan prompts so you know whether your test should stay small.
  6. Prepare your inputs before prompting. For TapNow, that usually means a short creative brief, one reference image if style matters, a note about subject continuity, and a clear idea of whether you care more about camera language, lighting, object replacement, or model comparison.
  7. If your task involves multiple shots or consistent scene logic, start with TapNow Agent. Describe the concept clearly and keep the brief narrow. The public product promise is proactive scene direction, so the cleaner the initial vision is, the easier it becomes to judge whether the agent is actually saving you time.
  8. If your main goal is shot language rather than sequence flow, move to the cinematic controls. Use them when focal length, lens feel, and cinematic framing matter more than raw prompt novelty. This is especially useful for advertising concepts, storyboard frames, and film-look exploration.
  9. Use the multi-angle controls when you want to keep the same concept but test perspective. Rotate, tilt, or widen the camera deliberately instead of rewriting the entire prompt. That will tell you quickly whether TapNow is helping with controllable variation or only with new randomness.
  10. Adjust studio lighting only after the base composition is already close. Change brightness, temperature, and light direction to improve separation or mood, then compare the result with your original. This is a better workflow than asking for a new scene every time the lighting feels wrong.
  11. Try video object replacement on a representative shot before using it in a bigger project. Pick one clip where continuity actually matters, then inspect edges, shadows, reflections, fast movement, and camera motion carefully. Replacement tools are valuable only when cleanup stays manageable.
  12. Compare more than one model when the result feels blocked. The official homepage makes TapNow's multi-model access a core selling point, so use that advantage. Do not force one engine to handle every visual style or motion problem.
  13. Open the community area after you already understand your own use case. Look for professional works, recipe logic, or cloneable project structures that resemble your task. Remixing a strong workflow is often more productive than starting from a blank canvas.
  14. Save versions of your better attempts. Keep the winning prompt logic, reference assets, and model choices together so you can reproduce the result later. This is especially important if you are evaluating TapNow for a team workflow rather than a one-time experiment.
  15. Decide whether TapNow deserves a permanent place in your stack based on one practical question: did it reduce tool switching and give you more controllable creative iteration than using separate image, video, and prompt tools one by one?

A sensible long-term TapNow workflow usually looks like this: start from the official homepage to understand the product logic, open the app through the official start path, test one narrow production problem first, use the control panels only where they add real value, and keep reusable recipes once the platform proves it can save you time across repeated creative tasks.

Related Software

Keep exploring similar software and related tools.